Getting Started with KingTube
This page takes a fresh WordPress install to a working tube site. Budget about twenty minutes, most of it spent waiting for WordPress rather than on KingTube itself.
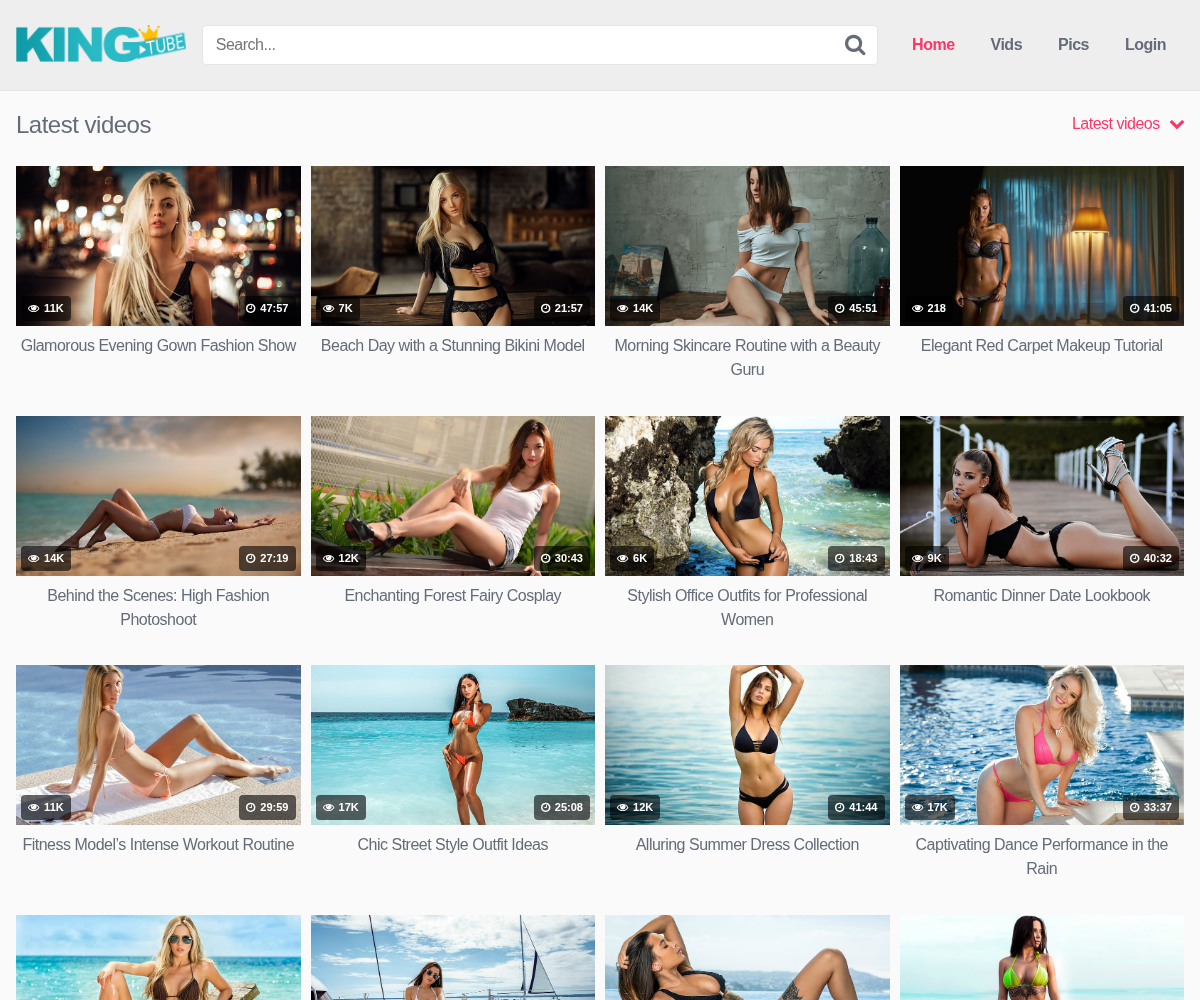
Here is what you are building.
1. Before you start
KingTube is a WordPress theme, so you need a WordPress site first: a domain, a host, and WordPress installed on it. If you are not there yet, start with Getting Started.
2. 1. Install WP-Script Core
Every WP-Script product is activated through the WP-Script Core plugin, so install it before the theme itself: How to install WP-Script Core.
Once it is active, activate your site with your site key: Site key activation.
3. 2. Install the theme
Download the KingTube zip from your account, then in WordPress go to Appearance → Themes → Add New → Upload Theme, choose the zip and activate it. The full walkthrough is in How to install a WP-Script theme.
WordPress expects the archive itself. Uploading an unzipped folder over FTP
works too, but it has to land in wp-content/themes/kingtube/, with style.css
directly inside it.
4. 3. What activation does for you
KingTube creates five pages on its first activation, each with its template already assigned: Categories, Tags, Actors, Submit a video and My Profile. It also builds a Main Menu with links to your homepage and to the Categories, Tags and Actors pages, and fills the widget areas with a starter set.
The pages are tracked by the theme, not by their title or slug, so renaming one never makes the theme create a duplicate. To see which page plays which role, open the Pages tab of the Theme Options.
One thing it does not do: the permalinks. Go to Settings → Permalinks
and choose anything other than the default. The category, tag and actor
archives, the photo galleries and the blog all rely on pretty permalinks: on
the default ?p=123 setting they return a 404.
The blog is shown at its own address, /blog/ by default, so there is no page
to create for it. Older versions had a Create Blog page tool: it is gone,
because that page could never be displayed. Add the blog to your menu as a
custom link to /blog/ if you want it there.
5. 4. Set your logo
KingTube's logo lives in its own options page, at KingTube → Logo & Favicon, not in the Customizer. You can use an icon and a line of text, or upload an image.
The favicon is set in the same place. A Site Icon set at Appearance → Customize → Site Identity takes over from it, so use one or the other.
6. 5. Add your first video
Videos are ordinary WordPress posts with the video post format:
- Go to Posts → Add New.
- Set the post format to Video.
- Fill the video fields in the KingTube - Video information box below the editor. Every field is covered in Video Information.
- Assign a category, some tags, and one or more actors.
- Publish.
Repeat a handful of times so the homepage has something to show. Bulk importing from tube sites is what WPS Mass Embedder is for.
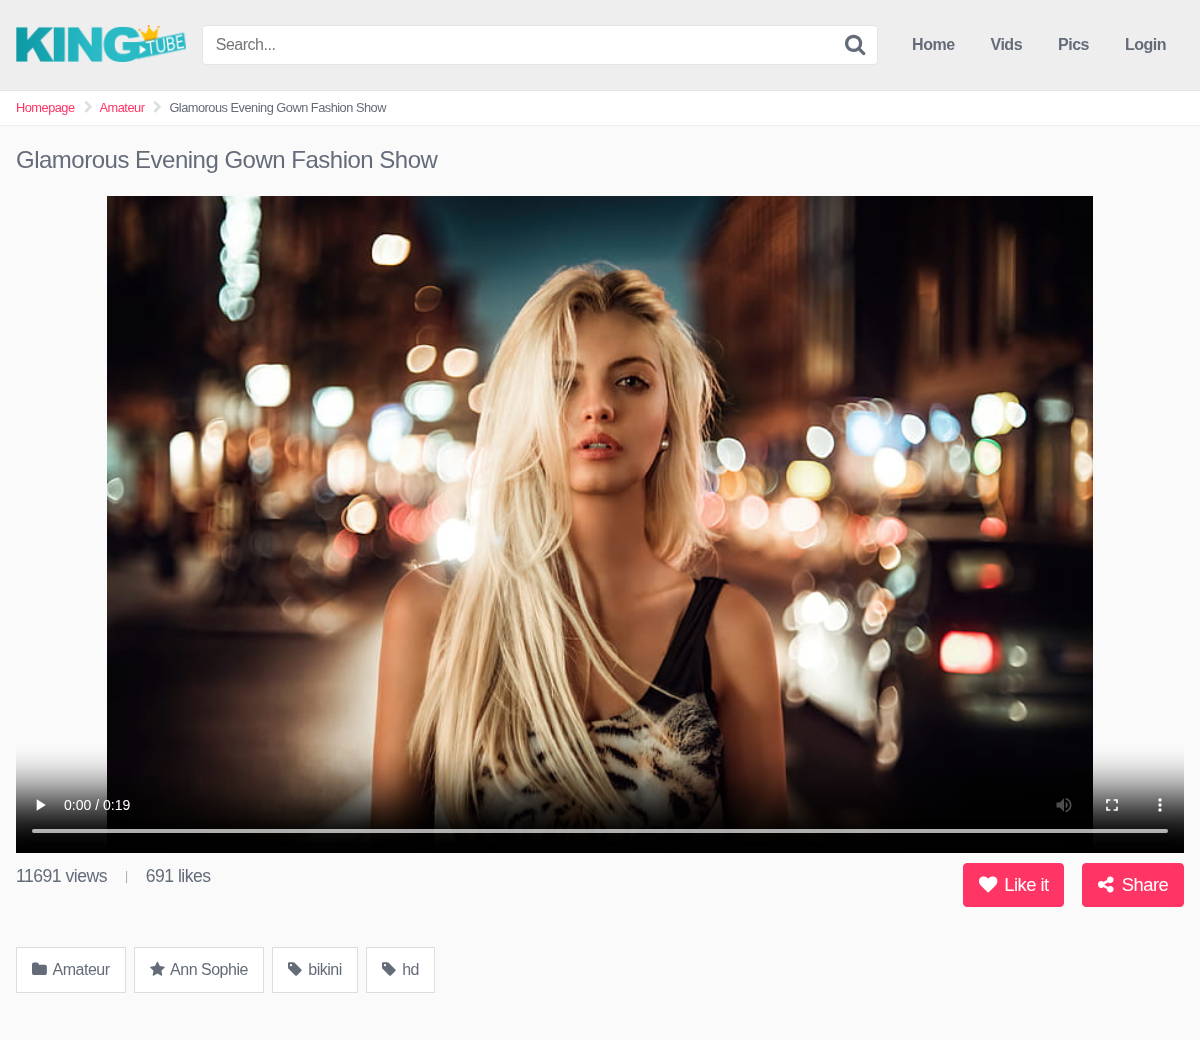
A published video looks like this:
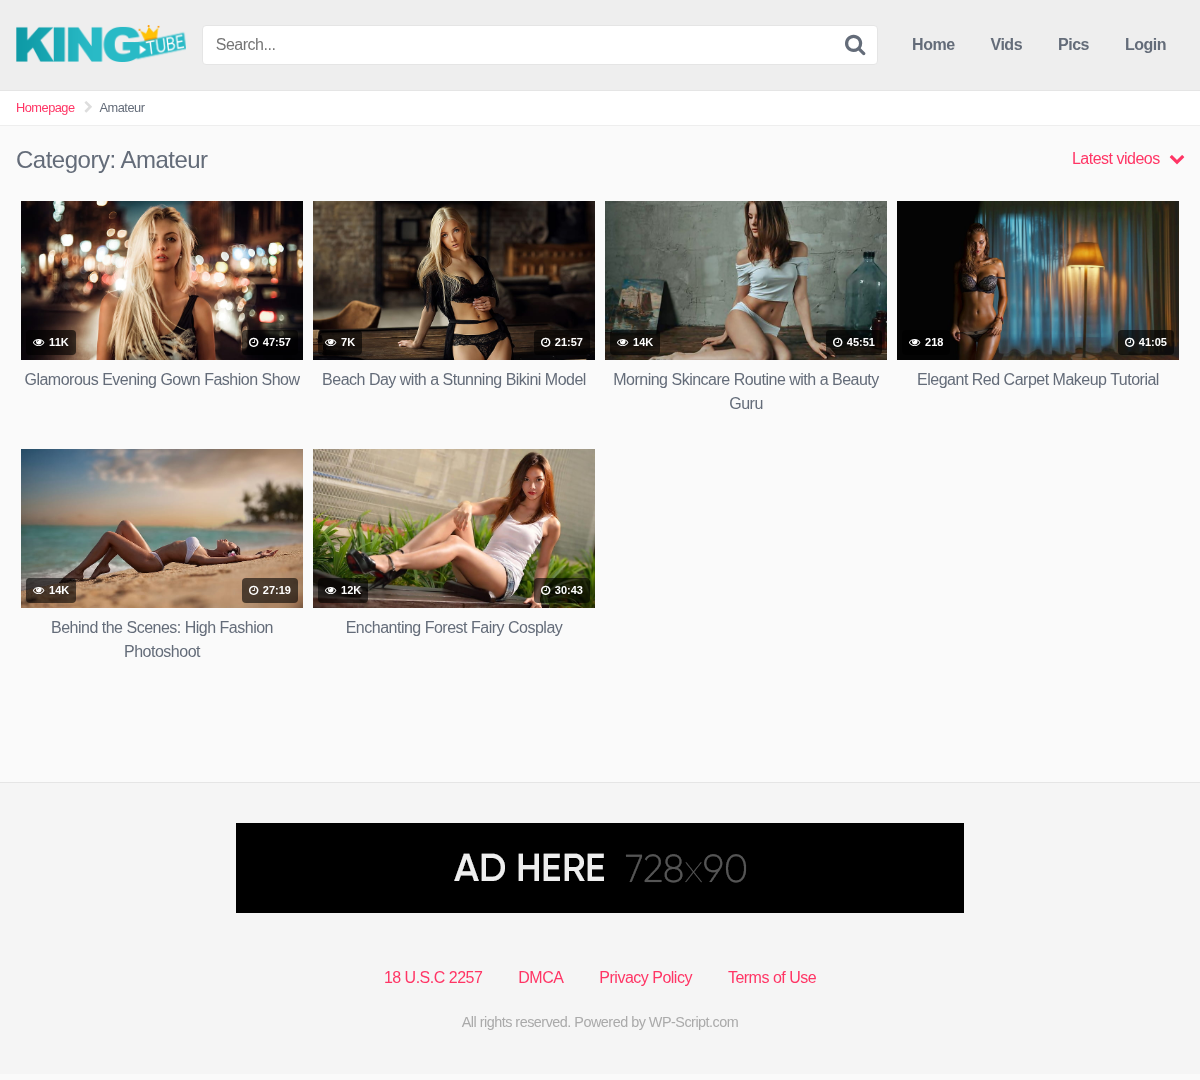
Your categories and actors get their own pages, built from the same videos:
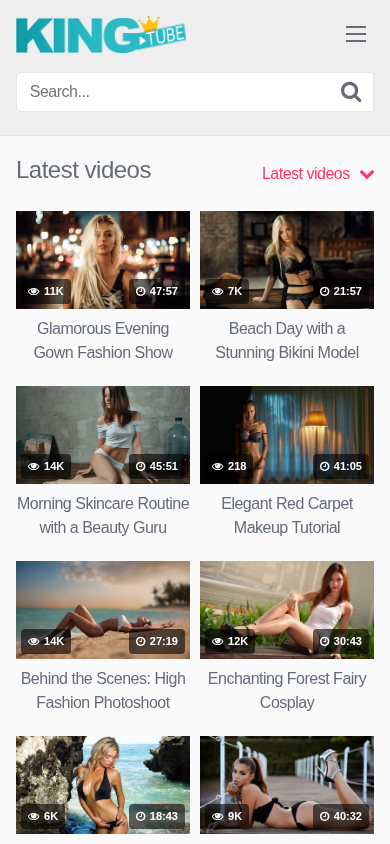
And the same site on a phone, which is where most of a tube's traffic comes from:
7. 6. Decide about the extras
Three features are worth deciding on early, because each one changes what your navigation should hold:
- Photo galleries and the blog, covered in Photos & Blog
- Member accounts and video submission, in the theme's Membership options and in Video Submission
8. 7. Make it yours
KingTube's settings live in their own admin page rather than in the Customizer: KingTube in the WordPress menu. Start with:
- General for how many videos a page holds and which systems are on
- Visual options for the accent colour
- Advertising for the ad zones
- Videos, formerly the Content tab, for the homepage, the video page and the category, tag and actor pages. Each kind of page has a list part (the page that lists them all) and a page part (one category, one tag, one actor), with its slug and its options. See Options.
- Photos & Blog for the slugs of the galleries and of the blog
- Pages to choose the page used for each part of the theme, recreate a missing one, or change its slug
- Tools for the Create the menu and Create the widgets buttons. Each one says what it will do and shows what your site already has. Create the widgets only fills the widget areas that are empty: it never removes or replaces a widget, your ad widgets included.
9. 8. Your language, and your visitors' texts
KingTube is translated into English, German, Spanish, French, Hindi, Italian, Portuguese and Russian, and the two sides of the site follow two different settings:
- Your visitors see the theme in the language of the site, set at Settings → General → Site Language.
- The admin, Theme Options included, follows the language of your own profile, at Users → Profile → Language. You can run a French site from an admin in German, and each admin user can pick their own.
The Texts tab of the Theme Options explains the same thing and links to both screens.
To change a text your visitors see (a menu label, a button, a message), open
Appearance → Customize → Texts. A pencil appears next to every text you
can change in the live preview: click it, type your text, and see it replaced
as you type. A field left empty keeps the translated text of the site language,
shown in grey. Keep the codes of the original text, like %s or %1$s: they
are replaced by a number, a name or a link, and a text missing one is ignored.
10. Where to go next
- Options documents every setting the theme has.
- Photos & Blog covers what makes KingTube different.
- FAQ answers what people ask most often.
- Troubleshooting is where to look when something does not appear.